DIY Farmhouse Table

The eat-in area we have is large enough for an average kitchen table. We've been using the table Chris had in his house during college (which was also the table his older brother had in college). Needless to say, it is a much-loved kitchen table that has seen a lot. Amazingly, it has also survived the test of time.
After we were married, I painted the entire table black. It was initially a red walnut colored top with green legs. On my previous blog, I shared how I painted it black.
It's been almost eight years since I painted the table and it has held it's own. Earlier this year, I repainted our dining area to brighten up the room. The all black table looks great in the space, but I've been wanting a wooden table top for a while now. So this past Saturday, during nap time, my husband and I took the table outside and I got started!
Used:
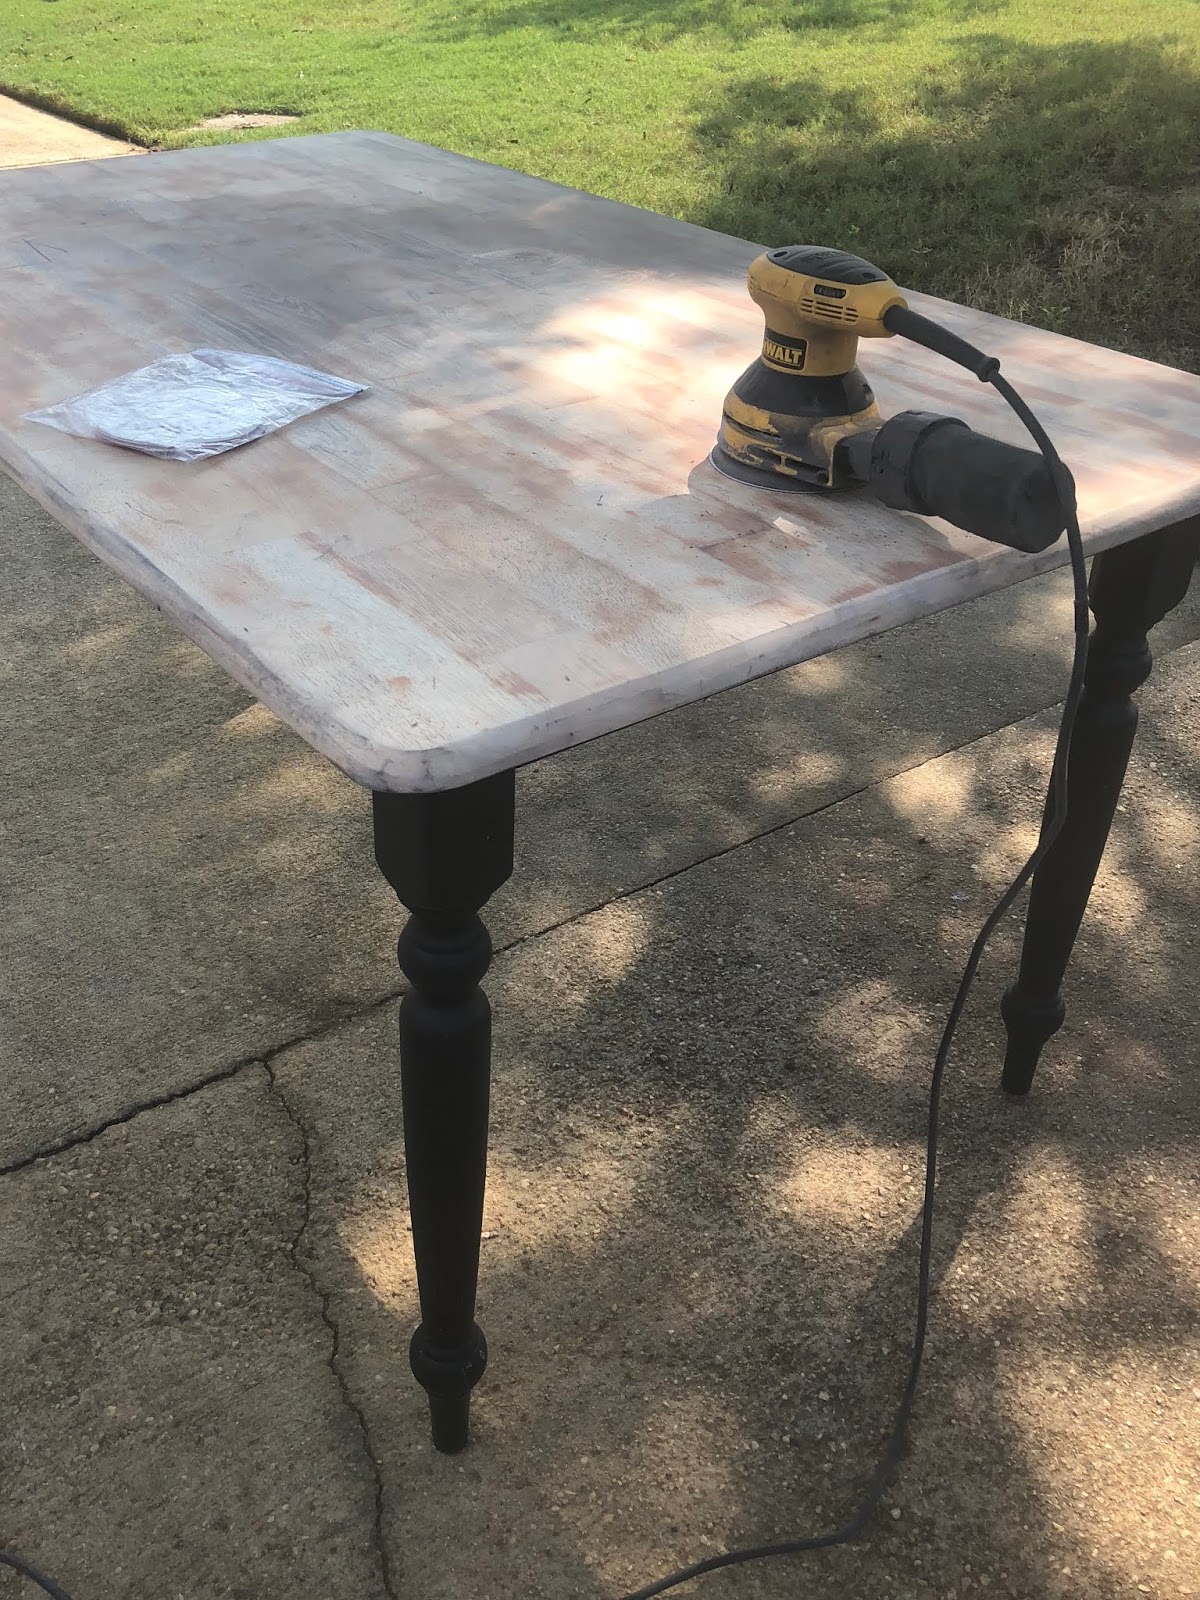
Dewalt Orbit Sander
Sanding Discs
Varathane Water-Based Polyurethane
Varathane Wood Stain - Dark Walnut
Sponge brushes
Paper cloths

I initially wiped down the table to get rid of any extra food (or paint or markers) that might be on it from our daily activities that happen at this table. Then I started sanding. I went through about five different sanding discs and it took about two hours to get then entire top completely sanded. Periodically through sanding and after it was complete, we'd use a high power blower to get the sanded particles off the table. I also did a thorough wipe-down after all the sanding was finished. This gave a smooth, clean surface for staining.


*Water-based was a bit more expensive, but lower odor - and worth it.

*Don't be alarmed that the sealer goes on with a white film - it will dry clear.
When I began the project, after sanding and staining the top, I thought I'd also repaint the legs white and do some distressing. After the staining was complete, I actually really liked the black legs we already had. I am still torn at this point - so I've put the table back in the house with the black legs and I'll leave it that way for a couple weeks. After that, if I still want to paint/distress, then I'll go for it. If I keep the black, I'm considering painting the two end chairs from black to white. So it's definitely not a completed project, but still in progress.
I already had the sander and sanding discs from prior projects (within the first two years of moving into our house, I painted every. single. cabinet. in our house!) so I only had to purchase the stain, sealer, and sponge brushes. Y'all, this was a $30 kitchen table make-over and took less than 24 hours!


Comments
Post a Comment