DIY Succulent Gift

I considered all the suggestions and ideas of my own and for this year's Teacher Appreciation Day, I decided to go a personal and unexpected gift. So I've put together a sweet little succulent plant, a hand-written card, and a gift card inside.
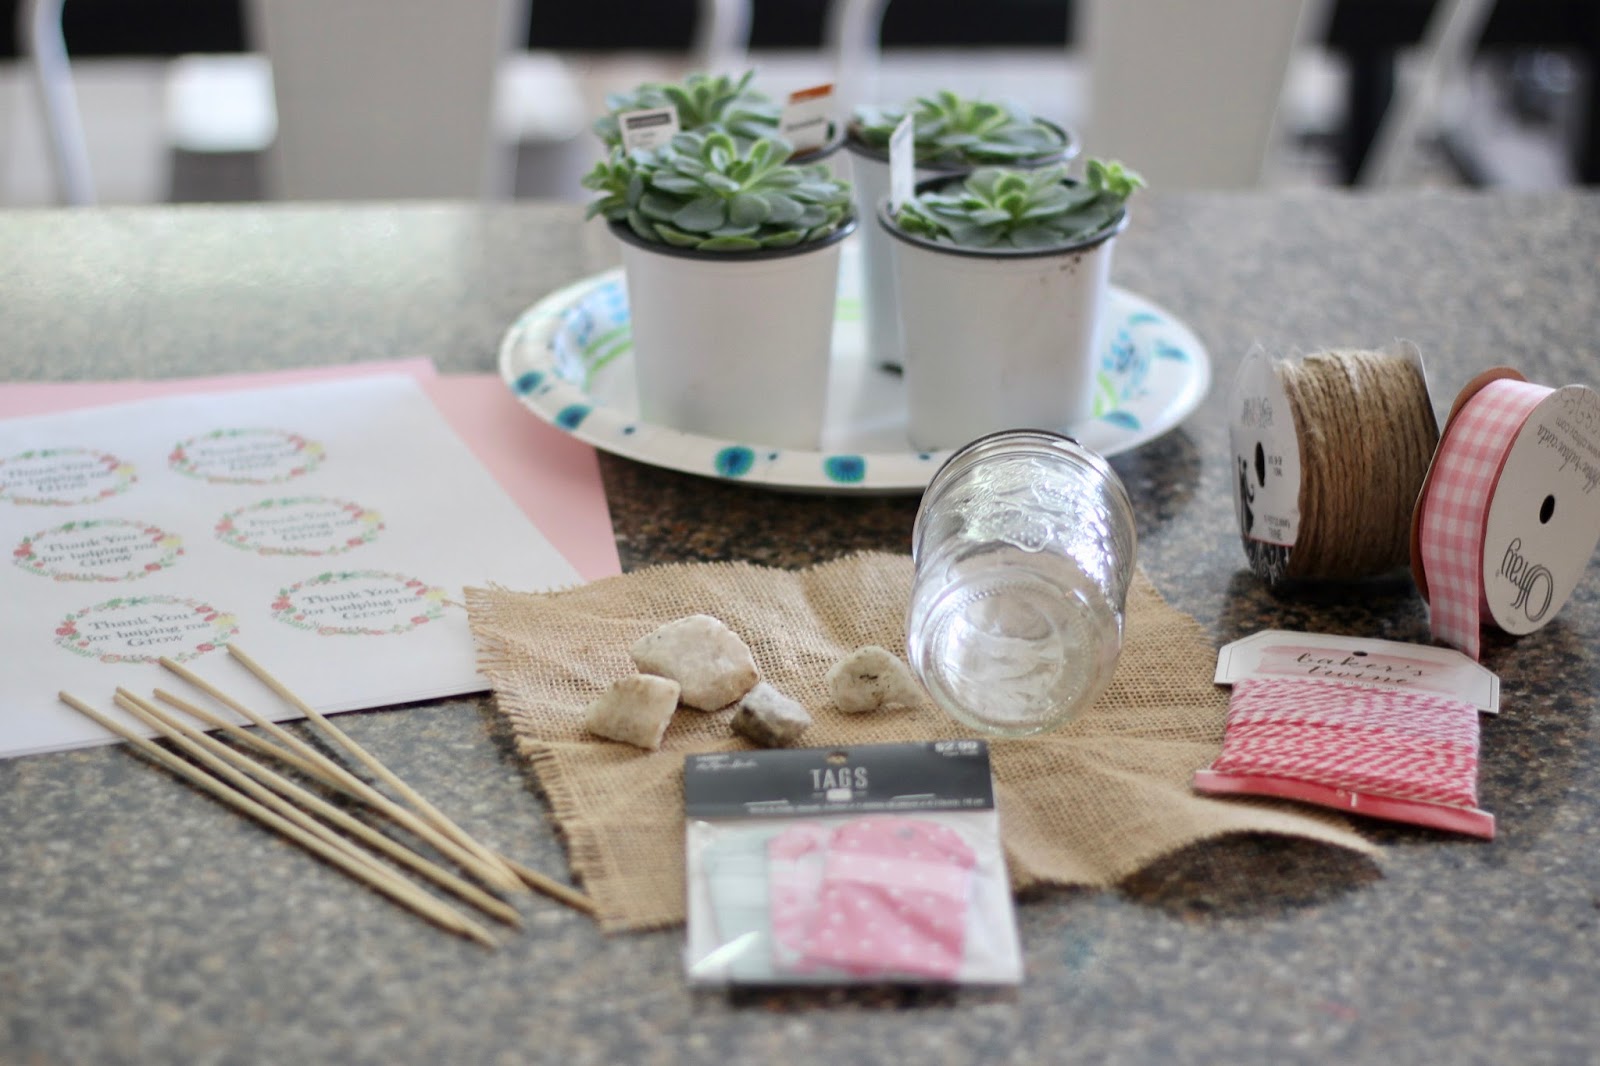
Materials Needed:
Plant/flower of choice
Pot for transferring
Fabric/burlap
Ribbon or twine
Rocks (if needed)
PDF with message (if needed)
Coordinating card stock
Skewer rods
Glue Gun
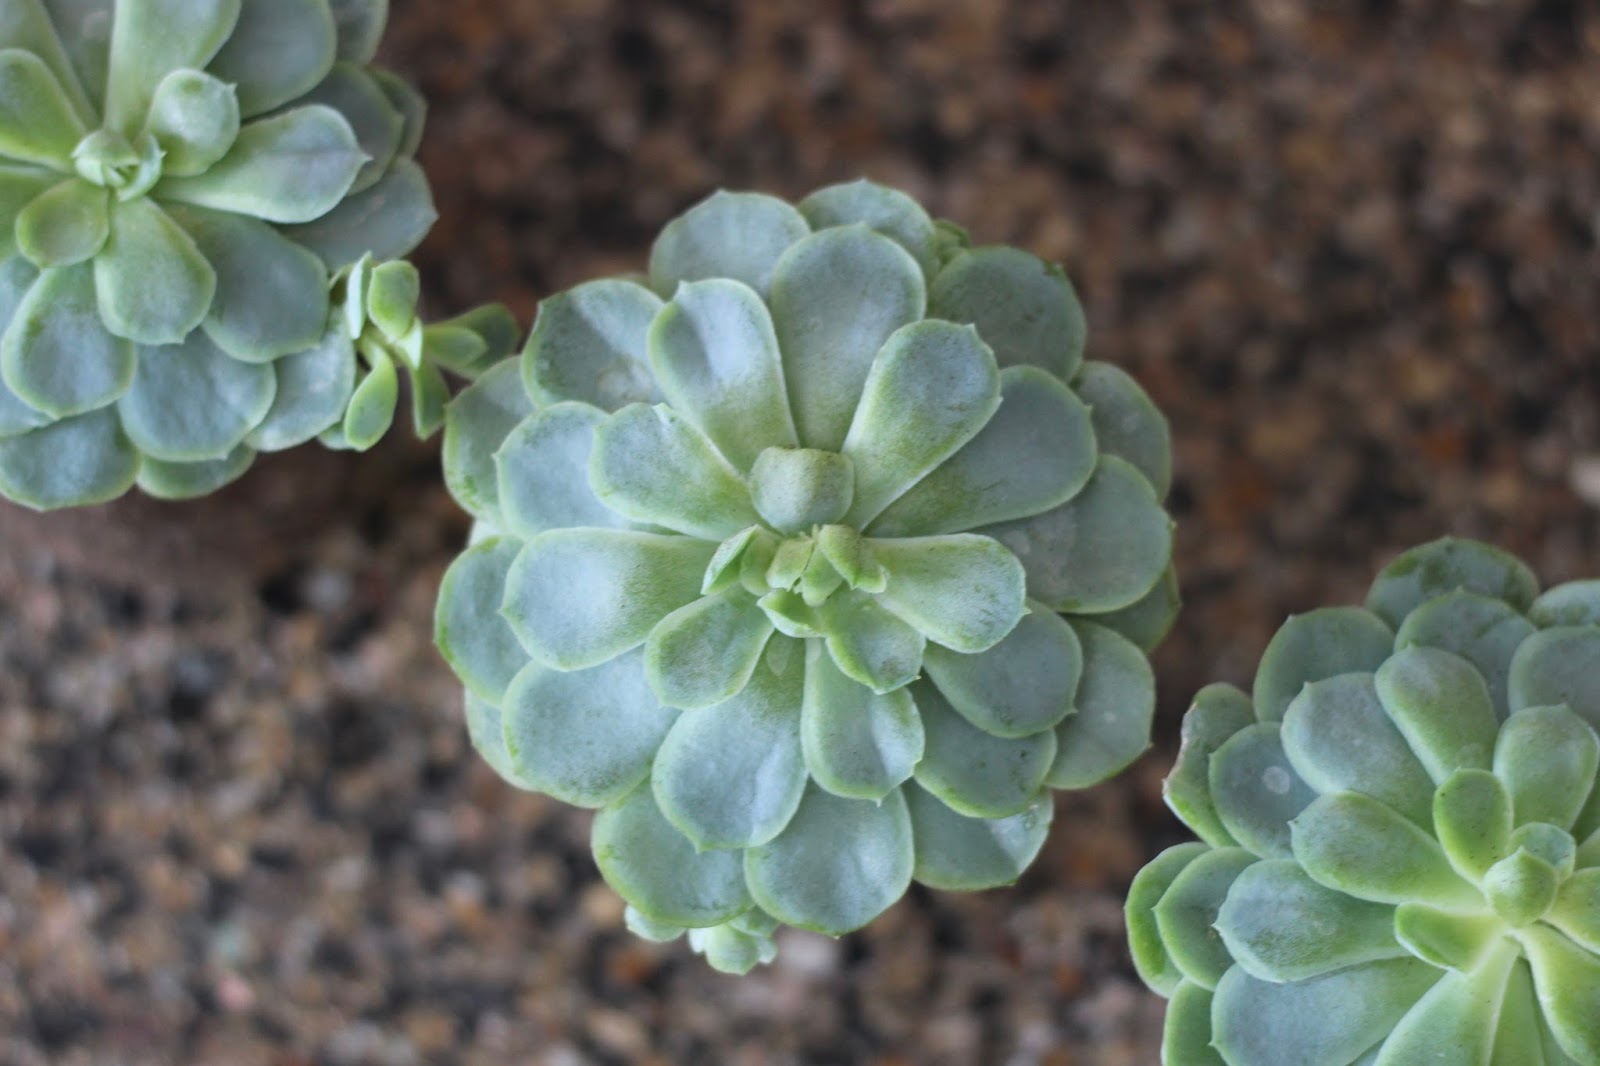
I headed out to a few of our local home improvement stores and found that Home Depot provided the best options for succulents. So I picked out four succulents that were about four inches wide - I liked this size because it was big enough to be noticed on a shelf, but it's small enough to not be overwhelming. I liked the idea of succulents because they are gorgeous flowers and are quite easy to maintain. They sit nicely on tables, shelves, window seals, or counter tops.

I decided to transfer the succulents into small, mason jars. It provided a bit more stability than the plastic container; this also keeps the teacher from having to pot the plants once taken home.
I transferred the succulents out of the plastic pot and into small mason jars (jelly size). Since I could not put draining holes in the jar, I placed a few rocks in the bottom before transferring the plant. Several small rocks are best, but I had medium/larger rocks on hand. I put enough in each jar to cover the bottom. Succulents like their soil to dry up between waterings, and the rocks help with the drainage.


Once the plant was transferred to the jar, I wrapped it with a small piece of burlap. I love the juxtaposition of the beautiful, delicate flower and the rustic wrapping. It's so pretty. If burlap isn't your thing, you could really use any fabric or material you like better or have on hand. Even kraft paper would look nice!

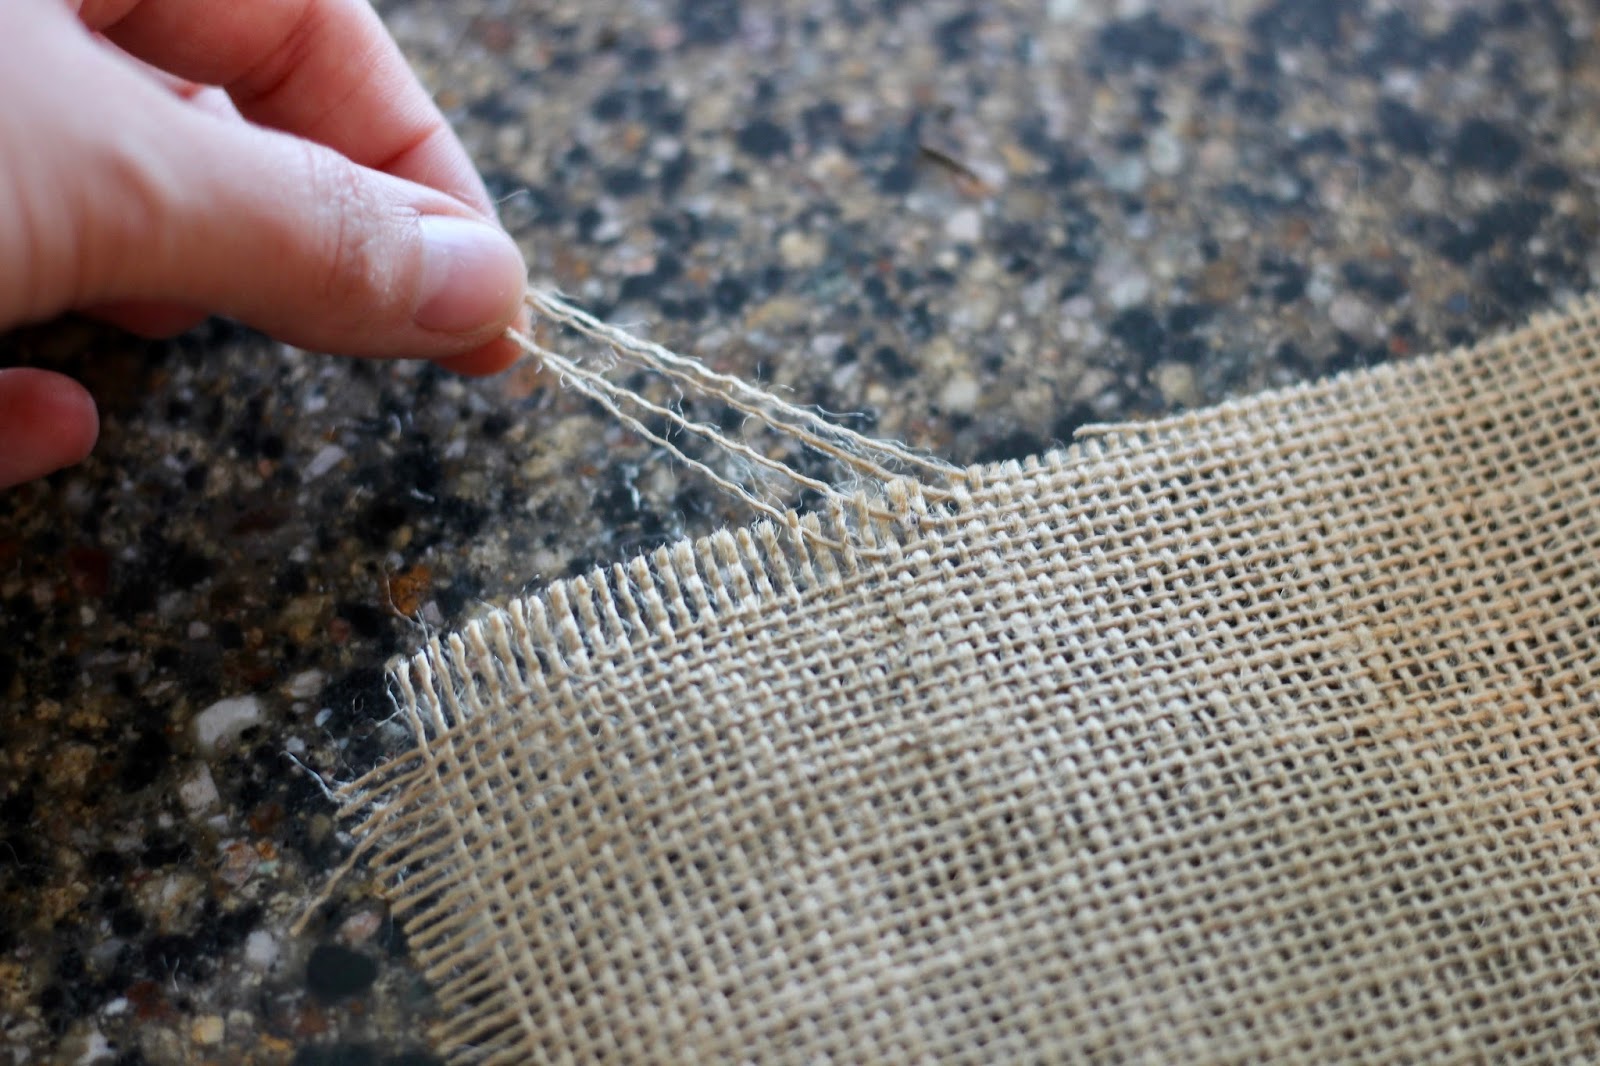
I like the edges of my burlap to be frayed. I've made many table runners in the past with burlap and I always give the sides that raw/frayed edge. I prefer the unfinished, rustic feel when it comes to burlap.

How to fray the edges of burlap:
When you cut burlap, you'll sometimes see small strings sticking out of the cut edge. If you don't see any sticking out, just go to one of the sides and pull on the string closest to the edge. Pull one string at a time to avoid pulling too much and then have to cut a new piece.
Once you have the amount of fray you want on the edge, I go back and cut the fray so that it's an even, straight line on every side.

I used my paper trimmer to cut the signs and ensure that my lines were even and straight. I have the Martha Stewart Paper Trimmer and I'm not confident that it's actually still available. I've seen it on Amazon, but there seems to be a similar product at Michaels. (I purchased mine seven years ago at Michael's!). If you do purchase via Michaels, be sure to use their 40% off a regular priced item coupon! If you do occasional crafts involving paper, this is a great investment!
Once these were cut out, I used my trimmer to cut a heavier card stock. I cut these slightly larger than the signs to give a matte effect to the signs.

Once they all were cut, I used a hot glue gun to assemble. I put a tiny dot of glue on each corner of the printed sign and then just "eye-balled" as I placed it in the center of the card stock. Once that was secured, I flipped it and used the glue gun to make a line down the middle of the back and placed my skewer (pointed end at the bottom so that part could go into the soil). I used a couple pieces of clear tape across the skewers for added reinforcement.
Once the signs were completed, I put them into the solid towards the back of the plant. And the DIY project was completed!


In addition to these plant gifts, I also gave home-made cards. I just used cardstock I had on hand and folded it in half to make it into a card. On the front, I glued my daughters' traced handprint and used that as a flower. I then drew a stem for the flower and some leaves off the stem. On the front of the card with their handprint flower, I wrote, "Mrs. Sarah, I could not have hand-picked a better teacher". On the inside of the cards, I personally wrote a note thanking each teacher for all the love, kindness, time, and energy they so generously give my children as well as all the children in each class. Each of my girls got to use their crayons and "sign" the card. I also attached a gift card to Chick Fil A and a tag with care instructions for succulents.
These gifts were a huge success with all four of our teachers!
Although this was a gift for teachers, it could really be a gift for anyone and any occasion! Mother's day, birthday, thank you, house warming, just because, or thinking of you. It would pair well with just about anything too - jewelry, gift card, a note, or a bottle of wine.
Let me know if any of you use this idea as a gift!

Comments
Post a Comment